DaVinci Resolve HDR Color Wheels: The Pro Secret to Perfect Exposure (Even for SDR Content)
There’s a moment every colorist hits.
You’re staring at a shot that looks… wrong.
Not broken. Just milky. Or worse… crunchy. The blacks are fighting you, the highlights feel brittle, and every move you make with Lift, Gamma, Gain, fixes one thing while wrecking another.
You lift the shadows? The midtones wash out.
You pull gain? The highlights clip and faces go plastic.
You touch saturation? Neon city.
That’s usually the moment someone clicks into the HDR Color Wheels, gets overwhelmed, and backs out slowly like they just opened the cockpit of a 747.
Here’s the truth most beginners don’t hear early enough:
HDR wheels aren’t an “HDR delivery” tool. They’re a precision exposure tool.
And once you understand why, you’ll stop fighting your images.
The Big Misconception: “I Don’t Need HDR Wheels If I’m Delivering SDR”
This myth refuses to die.
A lot of editors assume:
“I’m delivering Rec.709, so HDR wheels don’t apply to me.”
That’s backwards.
HDR Color Wheels in DaVinci Resolve are zone-based wheels, not delivery-format wheels.
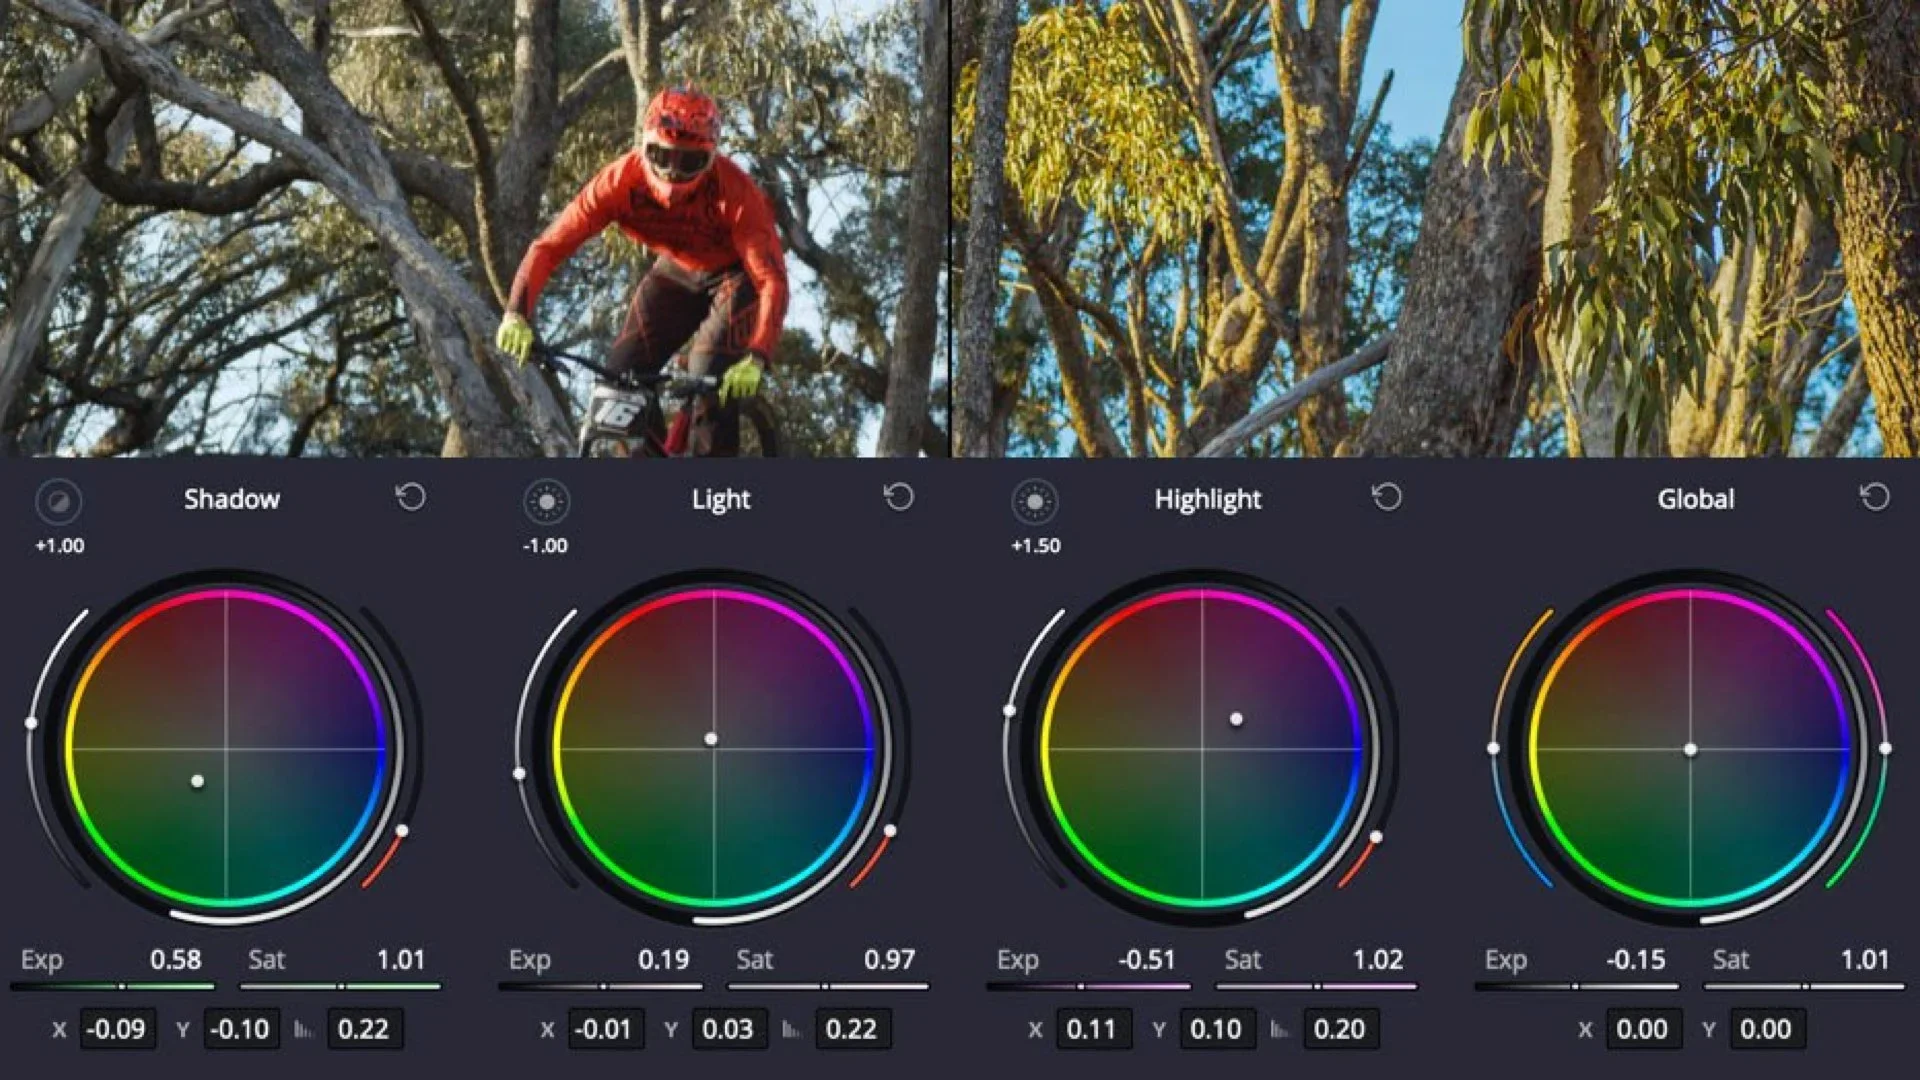
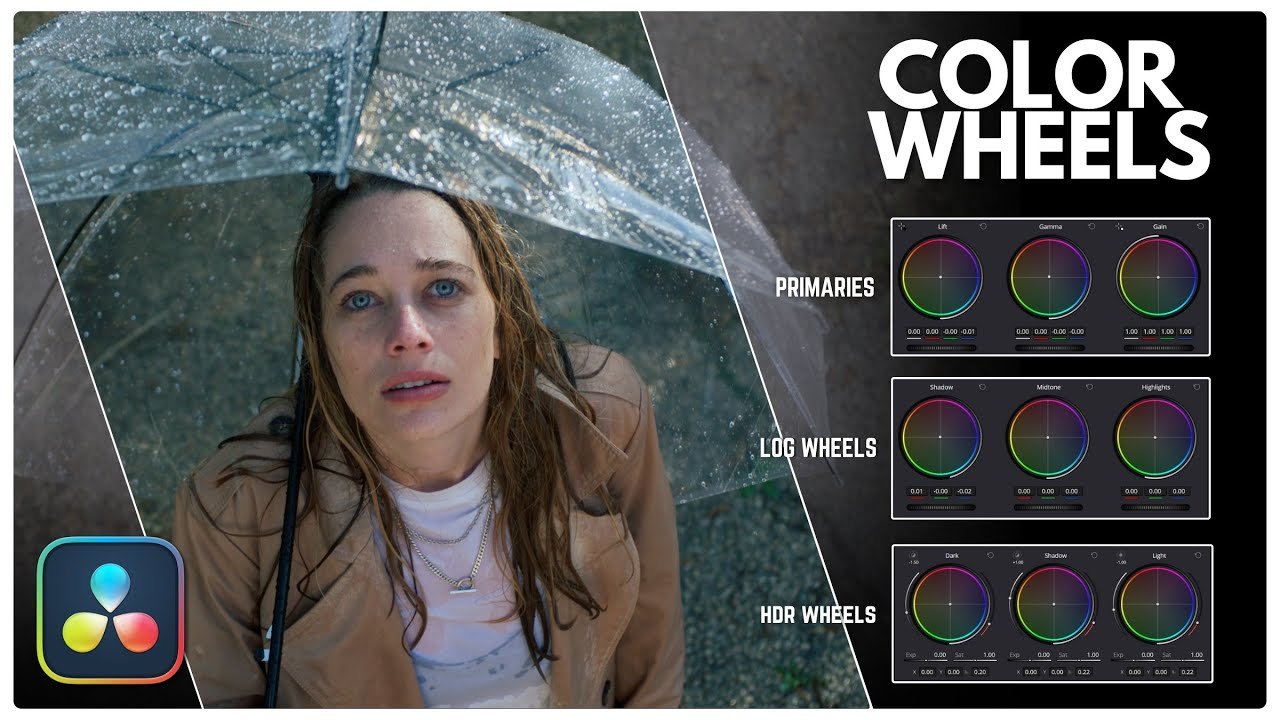
Instead of dividing the image into just three broad controls (Lift, Gamma, Gain), HDR wheels split exposure into multiple luminance zones, from deep blacks to specular highlights.
Think of them as:
Targeted exposure controls
With built-in rolloff
That don’t contaminate neighboring tones
That’s why they’re so powerful for standard SDR work.
They let you shape contrast without crushing blacks or frying highlights.
This is Zone-Based Color Grading, and once you see it, you can’t unsee it.
The “Secret Sauce”: HDR Wheels Are Color Space Aware (And You Must Tell Them the Truth)
This is where most people break the tool and blame the wheels.
HDR wheels are Color Space Aware.
That means Resolve needs to know what math to use when it moves exposure around.
If you don’t set this correctly, the wheels will:
Feel overly aggressive
Cause strange hue shifts
Create artifacts or “steppy” highlights
Look totally unpredictable
The Non-Negotiable Step (Don’t Skip This)
Open the HDR palette, click the three-dot menu, and set:
Color Space: DaVinci Wide Gamut
Gamma: DaVinci Intermediate
(or whatever your timeline is actually set to)
If your project is using Resolve Color Management (RCM) and your timeline is Wide Gamut/Intermediate, the HDR wheels must match it.
If they don’t match, you’re grading with the wrong ruler.
This is why pros trust them and why beginners think they’re broken.
If you need a foundation on Resolve’s Color Page before going deeper, Blackmagic’s official training is still the gold standard: Blackmagic Design Training
The Real Power Move: The HDR Global Wheel vs. Primaries
Here’s a quiet truth most tutorials miss:
The HDR Global Wheel is the best exposure control in DaVinci Resolve.
Better than:
Offset
Gain
Lift/Gamma/Gain combined
Why?
Because Global behaves like a physical camera aperture.
When you adjust it:
Contrast relationships stay intact
Highlights roll instead of snap
Shadows don’t collapse
Saturation stays stable
Offset shifts everything linearly.
Gain pushes highlights harder than mids.
Lift drags blacks into places they don’t belong.
Global moves exposure through the image, not against it.
If you’re coming from cinematography, this wheel will feel instantly familiar.
Why HDR Wheels Preserve Saturation (And Primaries Don’t)
Ever notice how beginner grades look “loud”?
That’s usually because:
Contrast was added with Primaries
Saturation wasn’t protected
Luma and chroma got tangled
HDR wheels handle this differently.
Because they’re zone-based and color-space aware, you can:
Increase highlight contrast
Deepen shadows
Shape mids
…without colors going radioactive.
This is why you can push contrast harder with HDR wheels and still end up with a natural image.
It’s not magic.
It’s math done in the right space.
Resources like Mixing Light go deep on this idea, especially when talking about color-space-aware tools and modern grading pipelines.
The Two Features Almost Nobody Talks About (But Should)
If you want real information gain, this is it.
1. The Zones Graph
The Zones Graph shows you exactly which parts of the image each HDR wheel is affecting.
It’s not decoration.
It’s a diagnostic tool.
Use it to:
See overlap between zones
Avoid fighting yourself with multiple wheels
Understand why a move feels heavy or light
Once you start watching the graph, your grades get cleaner fast.
2. Black Offset (Your Anti-Crush Safety Net)
Black Offset lets you reposition where “black” lives without crushing detail.
This is huge.
Instead of yanking Lift down and destroying texture, Black Offset lets you:
Set your black floor gently
Maintain separation in dark clothing
Avoid that dead, digital black look
This single control fixes more “crunchy” grades than any LUT ever will.
HDR vs Primaries in Resolve
This isn’t about replacing Primaries.
It’s about using the right tool at the right time.
Primaries: Fast, broad, good for rough balance
HDR Wheels: Precise, controlled, professional
Most pros:
Balance with Primaries (light touch)
Shape exposure with HDR Global + zones
Fine-tune contrast without saturation damage
If you care about consistency, HDR wheels win.
For workflow efficiency tips and how this fits into real-world post pipelines, Frame.io’s Resolve coverage is solid: Frame.io Insider
Master Setup Checklist (Save This)
Before you judge HDR wheels, confirm this:
Timeline Color Space is set (RCM or CST workflow)
HDR palette Color Space matches timeline
HDR palette Gamma matches timeline
Use Global for exposure first
Shape contrast with zones, not Primaries
Watch the Zones Graph
Use Black Offset instead of crushing Lift
Add saturation last and less than you think
Final Thought
HDR Color Wheels aren’t advanced because they’re complicated.
They’re advanced because they’re honest.
They show you exactly what you’re doing—and they don’t hide mistakes behind mushy math.
Once you set them up correctly, they stop feeling intimidating and start feeling inevitable.
Which do you prefer: the precision of HDR wheels or the speed of the standard Primaries?
FAQ: DaVinci Resolve HDR Color Wheels (Beginner Questions Answered)
Do HDR Color Wheels only work for HDR delivery?
No. This is the most common misunderstanding.
HDR Color Wheels work perfectly for SDR timelines, including Rec.709. They are zone-based exposure tools, not delivery-format tools. As long as your Color Space and Gamma are set correctly, they give you more precision than standard Primaries for any type of video.
Why do HDR wheels sometimes make my image look “wonky” or broken?
Because Resolve doesn’t know what color science to use.
If the HDR palette Color Space and Gamma don’t match your timeline, the wheels will behave unpredictably—causing artifacts, odd saturation shifts, or harsh contrast moves.
This is why HDR wheels get a bad reputation.
They aren’t broken. They’re just being fed bad information.
Should I use HDR wheels instead of Lift / Gamma / Gain?
Not instead of—after.
A solid workflow is:
Rough balance with Primaries
Exposure and contrast shaping with HDR Global + zones
Fine-tune saturation and tone
Primaries are fast. HDR wheels are precise.
Professionals use both.
What is the HDR Global Wheel actually doing?
The Global wheel adjusts exposure like a camera aperture.
It raises or lowers the image while preserving:
Highlight rolloff
Shadow separation
Color integrity
This is why it feels more natural than Offset or Gain—and why many colorists treat it as their primary exposure control.
Why do HDR wheels preserve saturation better than Primaries?
Because they separate luminance math from chroma math more intelligently.
When you increase contrast with Primaries, saturation often increases unintentionally—leading to neon skin tones and crushed colors. HDR wheels let you push contrast without dragging saturation along for the ride.
That’s why beginner grades suddenly look more “cinematic” when switching to HDR wheels.
What is the Zones Graph, and do I really need it?
Yes—you do.
The Zones Graph shows which luminance ranges each wheel affects. It helps you:
Avoid overlapping adjustments
Understand why a move feels heavy
Diagnose contrast problems quickly
Ignoring the Zones Graph is like color grading with your eyes half closed.
When should I use Black Offset instead of Lift?
Use Black Offset when:
Your shadows feel crushed
Texture disappears in dark areas
Lift adjustments feel too destructive
Black Offset repositions the black floor without collapsing detail, making it one of the most underrated controls in Resolve.
Are HDR wheels harder to learn than Primaries?
At first—yes.
But once you understand:
Zone-based control
Color Space Awareness
Global vs targeted adjustments
They actually become more predictable than Primaries.
HDR wheels don’t fight you. They just require you to be intentional.


