
Interview Set Up: How to Create Video Content That Feels Cinematic (and Professional)
1. Introduction: Why the Setup Sets the Story
You can tell when an interview feels right. The lighting is balanced but alive, the frame feels intentional, the person on camera looks comfortable — confident even. Their story pulls you in, not because of fancy editing or effects, but because every little element — from the shadows to the sound — is working together.
That’s not luck. That’s setup.
Here in San Antonio, where creativity runs wild and every other person has a camera slung over their shoulder, The Walls Production has built our reputation on one simple belief: if the setup feels good, the story will too.
And that’s what this blog’s about.
We’re breaking down how to design an interview setup that feels cinematic — not stiff. Whether you’re a creative director trying to dial in your team’s lighting scheme or a video professional perfecting your on-set rhythm, this guide will walk you through the how, the why, and the Walls way.
👉 If you’re a business owner who landed here just looking for a DIY route, skip ahead to Section 4: The Quick-Start DIY Setup for Business Owners.
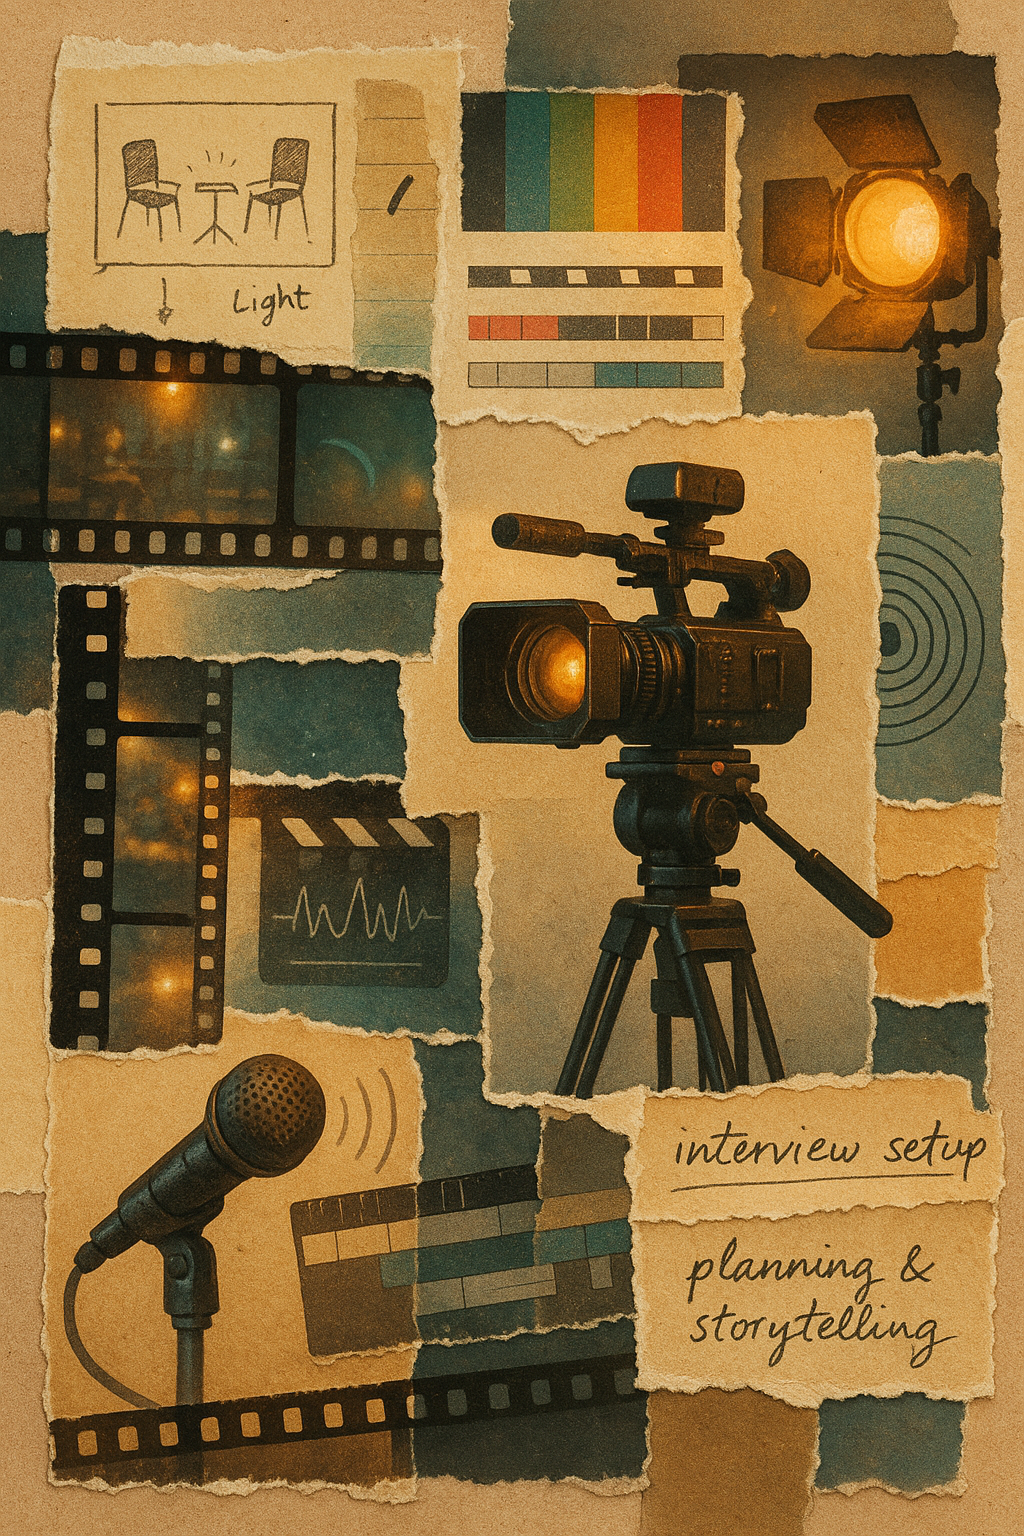
2. What Is an Interview Set Up (and Why It’s More Than Just Two Chairs and a Camera)
You’ve seen the basic setups — a subject, a backdrop, maybe a key light and boom mic. But what separates interview video content that stops the scroll from one that gets skipped? Intentionality.
An interview setup isn’t just where you place your camera; it’s how you craft an environment that gives the story room to breathe.
A proper setup shapes emotion, tone, and trust. It’s what makes the CEO of a start-up look approachable, what makes a non-profit leader sound authentic, what makes a local artist feel larger than life.
When you control the environment — the frame, the light, the sound, the color — you control the audience’s emotional experience. And that’s what we mean when we say setup is storytelling.
Every great interview setup includes:
A defined space with visual depth (no flat, dead walls).
Lighting that builds shape and dimension.
Clean, isolated audio.
A composition that draws focus to the subject’s eyes.
A background that says something — even quietly — about who they are.
The mistake most people make? They underestimate the power of setup. They rush to shoot without sculpting the mood. That’s like painting before you stretch the canvas.
3. The Anatomy of a Great Interview Set Up
Let’s break down the technical building blocks that make a professional setup shine.
Lighting: Sculpting Emotion with Shadows
Light doesn’t just brighten a face — it builds emotion.
For cinematic interviews, aim for 3-point lighting:
Key Light – Your main source, angled 45° from your subject.
Fill Light – Softens shadows on the opposite side.
Back Light (or Rim Light) – Separates your subject from the background.
But here’s the real trick: falloff. Don’t light everything evenly. Let shadows live. That gradient of light creates mood and realism.
If you’re near a window, treat it as your key. North-facing light gives you soft consistency; add a reflector opposite for fill.
🎥 Pro tip from The Walls Production: Use a lamp or RGB tube behind your subject to create depth. It doesn’t need to scream — it just needs to whisper “cinematic.”
Camera Placement: Frame Like You Mean It
Composition is half science, half soul.
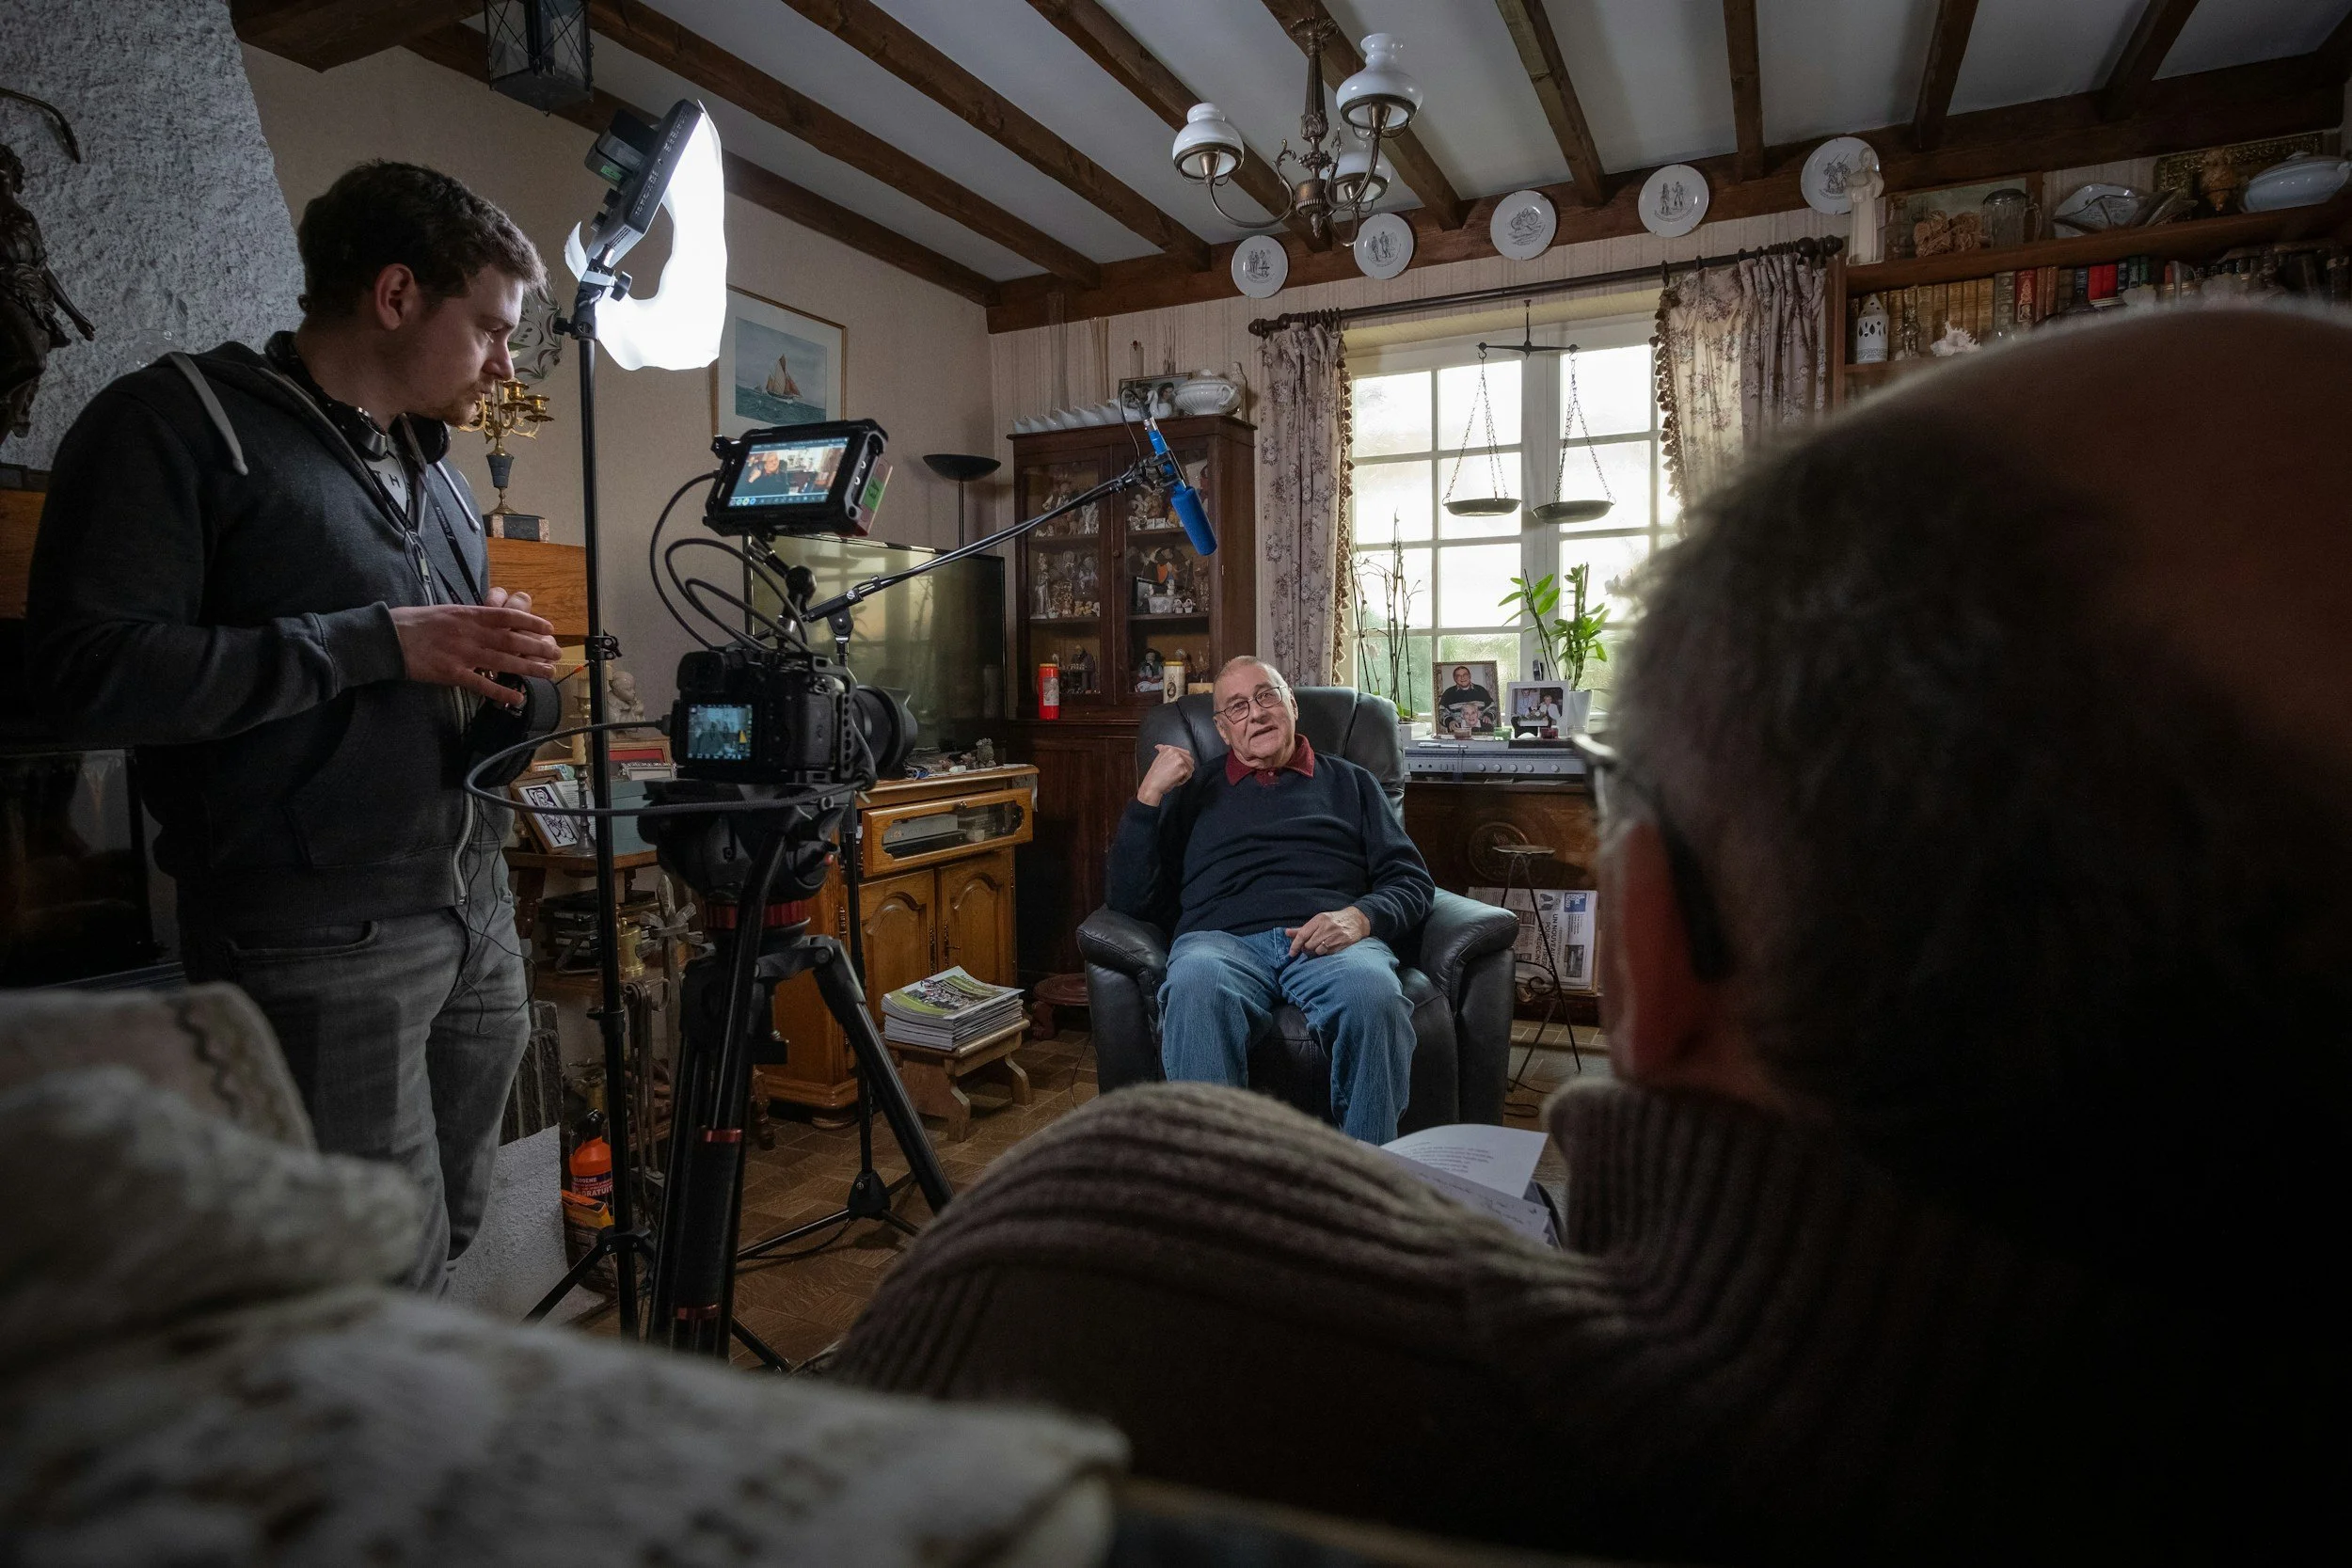
A behind-the-scenes look at a professional interview set up; showcasing how lighting, camera placement, and sound design come together to create authentic and cinematic video content.
Keep your subject’s eye line just above center frame, with enough lead room in the direction they’re facing (typically toward the interviewer). A medium shot — chest to headroom — is standard, but don’t be afraid of tight shots for intimacy.
Use longer focal lengths (50mm–85mm) to compress the background and add that shallow-depth, documentary feel.
Add depth layers: a subject in the foreground, background details (like art or texture), and negative space. That visual layering creates richness — a feeling of place.
Audio Setup: The Invisible Art
Bad audio kills good video.
Use a lav mic clipped near the sternum for consistent voice capture. A boom mic is perfect if you have a sound op or if lavs cause clothing rustle.
Record dual-system audio when possible (camera + external recorder) to give yourself options in post.
🎧 Walls Tip: Always record at least 30 seconds of “room tone.” It saves your edit and helps blend cuts seamlessly.
Backgrounds: Frame the Story, Don’t Distract From It
The background should feel like a reflection of the subject.
For creatives, that might mean books, art, or texture. For CEOs, something clean, structured, and calm.
Avoid blank white walls. Instead, use practical depth — maybe a desk lamp, plant, or artwork 6–8 feet behind your subject.
Think of it as the emotional context for your interview.
Environment: Find the Soul in the Space
Location matters as much as lighting.
A factory interview hits different from a studio one. Natural light from warehouse windows creates authenticity. A studio setup gives you precision and control.
At The Walls Production, we start every setup walk-through by asking, “What does this space say about the person we’re filming?”
If it says nothing, we move.
4. The Quick-Start DIY Setup for Business Owners
Every great interview set up starts with a plan — from lighting and framing to sound design, every detail shapes the video content that follows.
Hey there, you scrolled here — smart move.
If you’re a business owner trying to create clean, professional video content without a full production crew, this is your section. Here’s how to build a reliable interview setup with minimal gear and maximum payoff.
Lighting on a Budget
Use a window as your key light — face your subject toward it at an angle, not straight on.
Hang a white sheet or shower curtain to diffuse harsh light.
Add a lamp or phone flashlight opposite the window for fill (bounce it off a wall for softness).
Audio for Beginners
Don’t rely on camera mics. Use a lav mic that plugs into your phone or camera.
Record a voice memo backup on a phone placed near your subject (if your main mic fails, you’re safe).
Close all doors and turn off A/C or fans — background hum ruins takes.
Framing With Intention
Set your phone or camera at eye level — never angle up or down.
Keep your subject off-center using the rule of thirds.
Leave space in the direction they’re facing.
The No-Stress Checklist
✅ Clean background with depth (no clutter)
✅ Light source at 45° angle
✅ Mic tested and monitored
✅ Record at least 10 seconds before and after each take
✅ Keep rolling — authentic moments happen between answers
If you do this right, your audience won’t care that you filmed it in your office — they’ll just feel connected. And that’s what matters most.
5. Why the Right Interview Set Up Matters
Let’s zoom out for a minute.
Why spend time crafting a setup at all? Because presentation equals perception.
Whether you’re shooting for a brand film, a mini-doc, or internal training, your interview video content is more than just words — it’s representation.
A well-lit, well-framed setup builds trust. It signals professionalism. It tells your audience, “We care.”
On the flip side, harsh lighting, muddy sound, or an awkward angle can subconsciously make a viewer doubt your credibility — even if your message is gold.
Every detail you control tells your story before your subject says a single word.
That’s why we say: setup is the first layer of storytelling.
6. Pro-Level Tips for Cinematic Interviews
1. Depth & Layers
Create foreground interest - maybe a blurred plant, light stand, or bokeh. Add background texture with soft lights or objects. This gives the viewer a sense of space and intimacy.
2. Eye Light
Add a small, subtle catchlight near the lens (like an Aputure MC or LED puck). It brings life to the subject’s eyes — a cinematic must.
3. Framing Emotion
Shoot tighter as emotion deepens. Start wide for context, then move in as vulnerability builds. The audience feels that shift even if they don’t notice it consciously.
4. Movement Matters
Static shots feel staged. Add a slow push-in or slider move for depth. Just subtle enough to breathe — not distract.
5. Directing Comfort
Your interviewee isn’t an actor. Make them forget the camera. Keep conversation natural, make small talk, let them rephrase. The best takes often come right after they think it’s over.
🎬 Walls Pro Insight: We sometimes keep the camera rolling a few seconds longer after the “cut.” Those in-between smiles and breaths often end up being the heart of the edit.
6. Set Design Speaks
Add props with purpose — not clutter. If you’re shooting an artist, show their work blurred behind them. For a business owner, frame them near something that grounds their identity — tools, signage, or community objects.
Every visual cue tells a story.
7. Wrap-Up: Every Setup Is a Story Waiting to Be Told
At The Walls Production, we treat every interview setup like a canvas.
Lighting, sound, composition — they’re our brushes. The person in the chair? That’s the heart.
Whether you’re building video content for your brand or directing your next campaign, remember this: setup isn’t just technical — it’s emotional.
Take the time to shape your space, find your tone, and respect the story sitting across from your lens.
If you’re ready to make your next interview feel cinematic — and not just “content” — let’s talk.
👉 Let’s build something unforgettable.
8. FAQs
1. What’s the best lighting setup for interviews?
A 3-point lighting setup — key, fill, and backlight — gives you the best balance of shape and control. Natural light can work too if softened with diffusion.
2. What gear do I need for a simple setup?
A decent camera or smartphone, a lav mic, and one soft light source. Add a tripod and diffuser for best results.
3. How can I make my background look cinematic?
Add layers — foreground objects, midground subject, and background depth. Avoid flat walls and mix light sources for warmth and separation.
4. How do I capture clean audio?
Use lav mics or booms, monitor sound live, and record backup audio. Always capture room tone before shooting.
5. Why does setup affect perception?
Because viewers feel production quality subconsciously. The right setup communicates trust, professionalism, and care — it’s the first handshake before your message begins.