
How to Convert LOG Footage to Rec 709 Using LUTs
You can change log footage to Rec 709 by using LUTs for color grading in your video editing software. This helps you achieve real-looking colors, which is crucial for projects that need to appear natural. Many professionals utilize Rec 709 to maintain consistent colors across different screens and devices. Using the right LUTs for color grading saves time when you need to finish quickly, such as for wedding films or live TV shows. Follow simple steps to achieve the best results.
Key Takeaways
Changing log footage to Rec 709 makes colors brighter and clearer. This helps videos look real and lively.
LUTs make color grading easier and faster. They help your video look the same on different screens.
Pick LUTs that fit your camera’s log profile. This gives you the best color grading results.
Use a simple workflow. Get your footage ready, add a Rec 709 LUT, fix the colors, and export with the right settings.
Check your work often on monitors that are set up right. This makes sure colors look correct everywhere.
Log Footage and Rec 709
What is Log Footage
You hear about log footage when making digital videos. Log footage is video that has settings like white balance and ISO. These settings make it easier for you to use. Log footage keeps high dynamic range. Many cameras use log footage. These include digital cinema, DSLR, and mirrorless cameras. Log footage looks flat and not colorful. This helps you change colors later.
Has high dynamic range
Lets you change colors more easily
Has white balance and ISO already set
Log footage keeps more image data. You can change colors and tones later. You do not lose details. The log gamma curve helps save shadows and highlights. This is good for scenes with strong contrast.
Why Convert Log Footage
You need to change log footage so your video looks real. Log footage looks flat and dull before you grade it. Changing it to Rec 709 makes your video look normal. It looks like what you see with your eyes.
Rec 709 gives good contrast and color.
Rec 709 helps you finish projects faster.
Rec 709 lets you use LUTs for easy color changes.
Keeping client graphics right is hard in Rec 709. Changing from basic color to final graphics is one more problem you do not want.
If you use interpret footage on an S-Log3 clip and set colorspace to Rec709, your editing software treats it as Rec-709. This can make log footage look flat if you do not do it right.
Rec 709 Overview
Rec 709 is the world standard for HD TV. It tells how colors and signals should be set. This makes your video look the same on all screens. Rec 709 is important for keeping colors right in video and TV.
Made by the International Telecommunication Union (ITU-R)
Uses small numbers to show colors
Has widescreen with 1080 lines and 1920 pixels per line (16:9 shape)
Rec 709 covers less color than DCI-P3 and Rec 2020. But it is still used most for HDTV.
LUTs for Color Grading
What Are LUTs
You often hear about LUTs for color grading when you want to make your video look better. LUT stands for Look Up Table. This tool lets you apply preset color grading values to your footage. You use LUTs for color grading because they save time and help you get a consistent look. Most video editors use .cube files, which work well with many editing programs. LUTs for color grading work best on log footage because log footage has a wide dynamic range. This means you can push colors and contrast further without losing detail.
Tip: You can use a conversion LUT to change your log footage to Rec 709. This makes your video look more vibrant and punchy.
Types of LUTs
You will find different types of LUTs for color grading. Each type has a special job. Some LUTs control only one setting, like gamma. These are called 1D LUTs. Others, called 3D LUTs, let you change hue, saturation, and contrast at the same time. This gives you more control over your image.
Technical LUTs focus on accuracy. You use them to get a standard look before you add any style. Creative LUTs help you set the mood or give your video a unique look. Correction LUTs help you move from one color profile to another.
How LUTs Convert Log Footage
You use LUTs for color grading to turn flat log footage into something that looks real. The process starts when you apply a technical LUT. This step changes your log footage to the Rec 709 color space. Your video will look more colorful and have better contrast. Sometimes, you need to adjust white balance, exposure, and contrast before you add creative LUTs. This gives you a neutral starting point.
You can use color grading luts to add style after you finish the basic conversion. Color grading luts help you create a look that matches your project. When you use luts for color grading, you get both speed and flexibility. This makes your workflow easier and your videos look professional.
Convert Log Footage: Step-by-Step
You can convert log footage to Rec 709 by following a clear color grading workflow. This process uses color grading tools and color correction software to help you achieve professional results. You will learn how to prepare your footage, apply a LUT to create rec709, refine your color grading process, and export your final video. These steps work for DaVinci Resolve, Premiere Pro, and Final Cut Pro.
Import and Prepare Footage
Start by importing your log footage into your editing software. You should use formats like ProRes, DNxHR, RAW, DNG, ARRI RAW, R3D, MP4, MOV, or AVI. These formats keep your log color space intact and make editing smoother. Avoid highly compressed formats like H.264 and H.265, as they can slow down your workflow.
Follow these steps to prepare your footage in DaVinci Resolve, Premiere Pro, or Final Cut Pro:
Drop all your video clips onto the main video track (V1). Make sure your sequence does not have any titles or effects burned into the image.
Set your timeline to start at time code 00:59:30:00.
Place your sync reference (2 beep) at 00:59:58:00.
Open the timeline drop-down menu and select 'Start Time' to set your starting time code.
Add SMPTE Bars and Tone at 00:59:58:00 to provide a sync pop for every track.
Tip: Using the right file format helps you keep the highest quality during the conversion and color grading process.
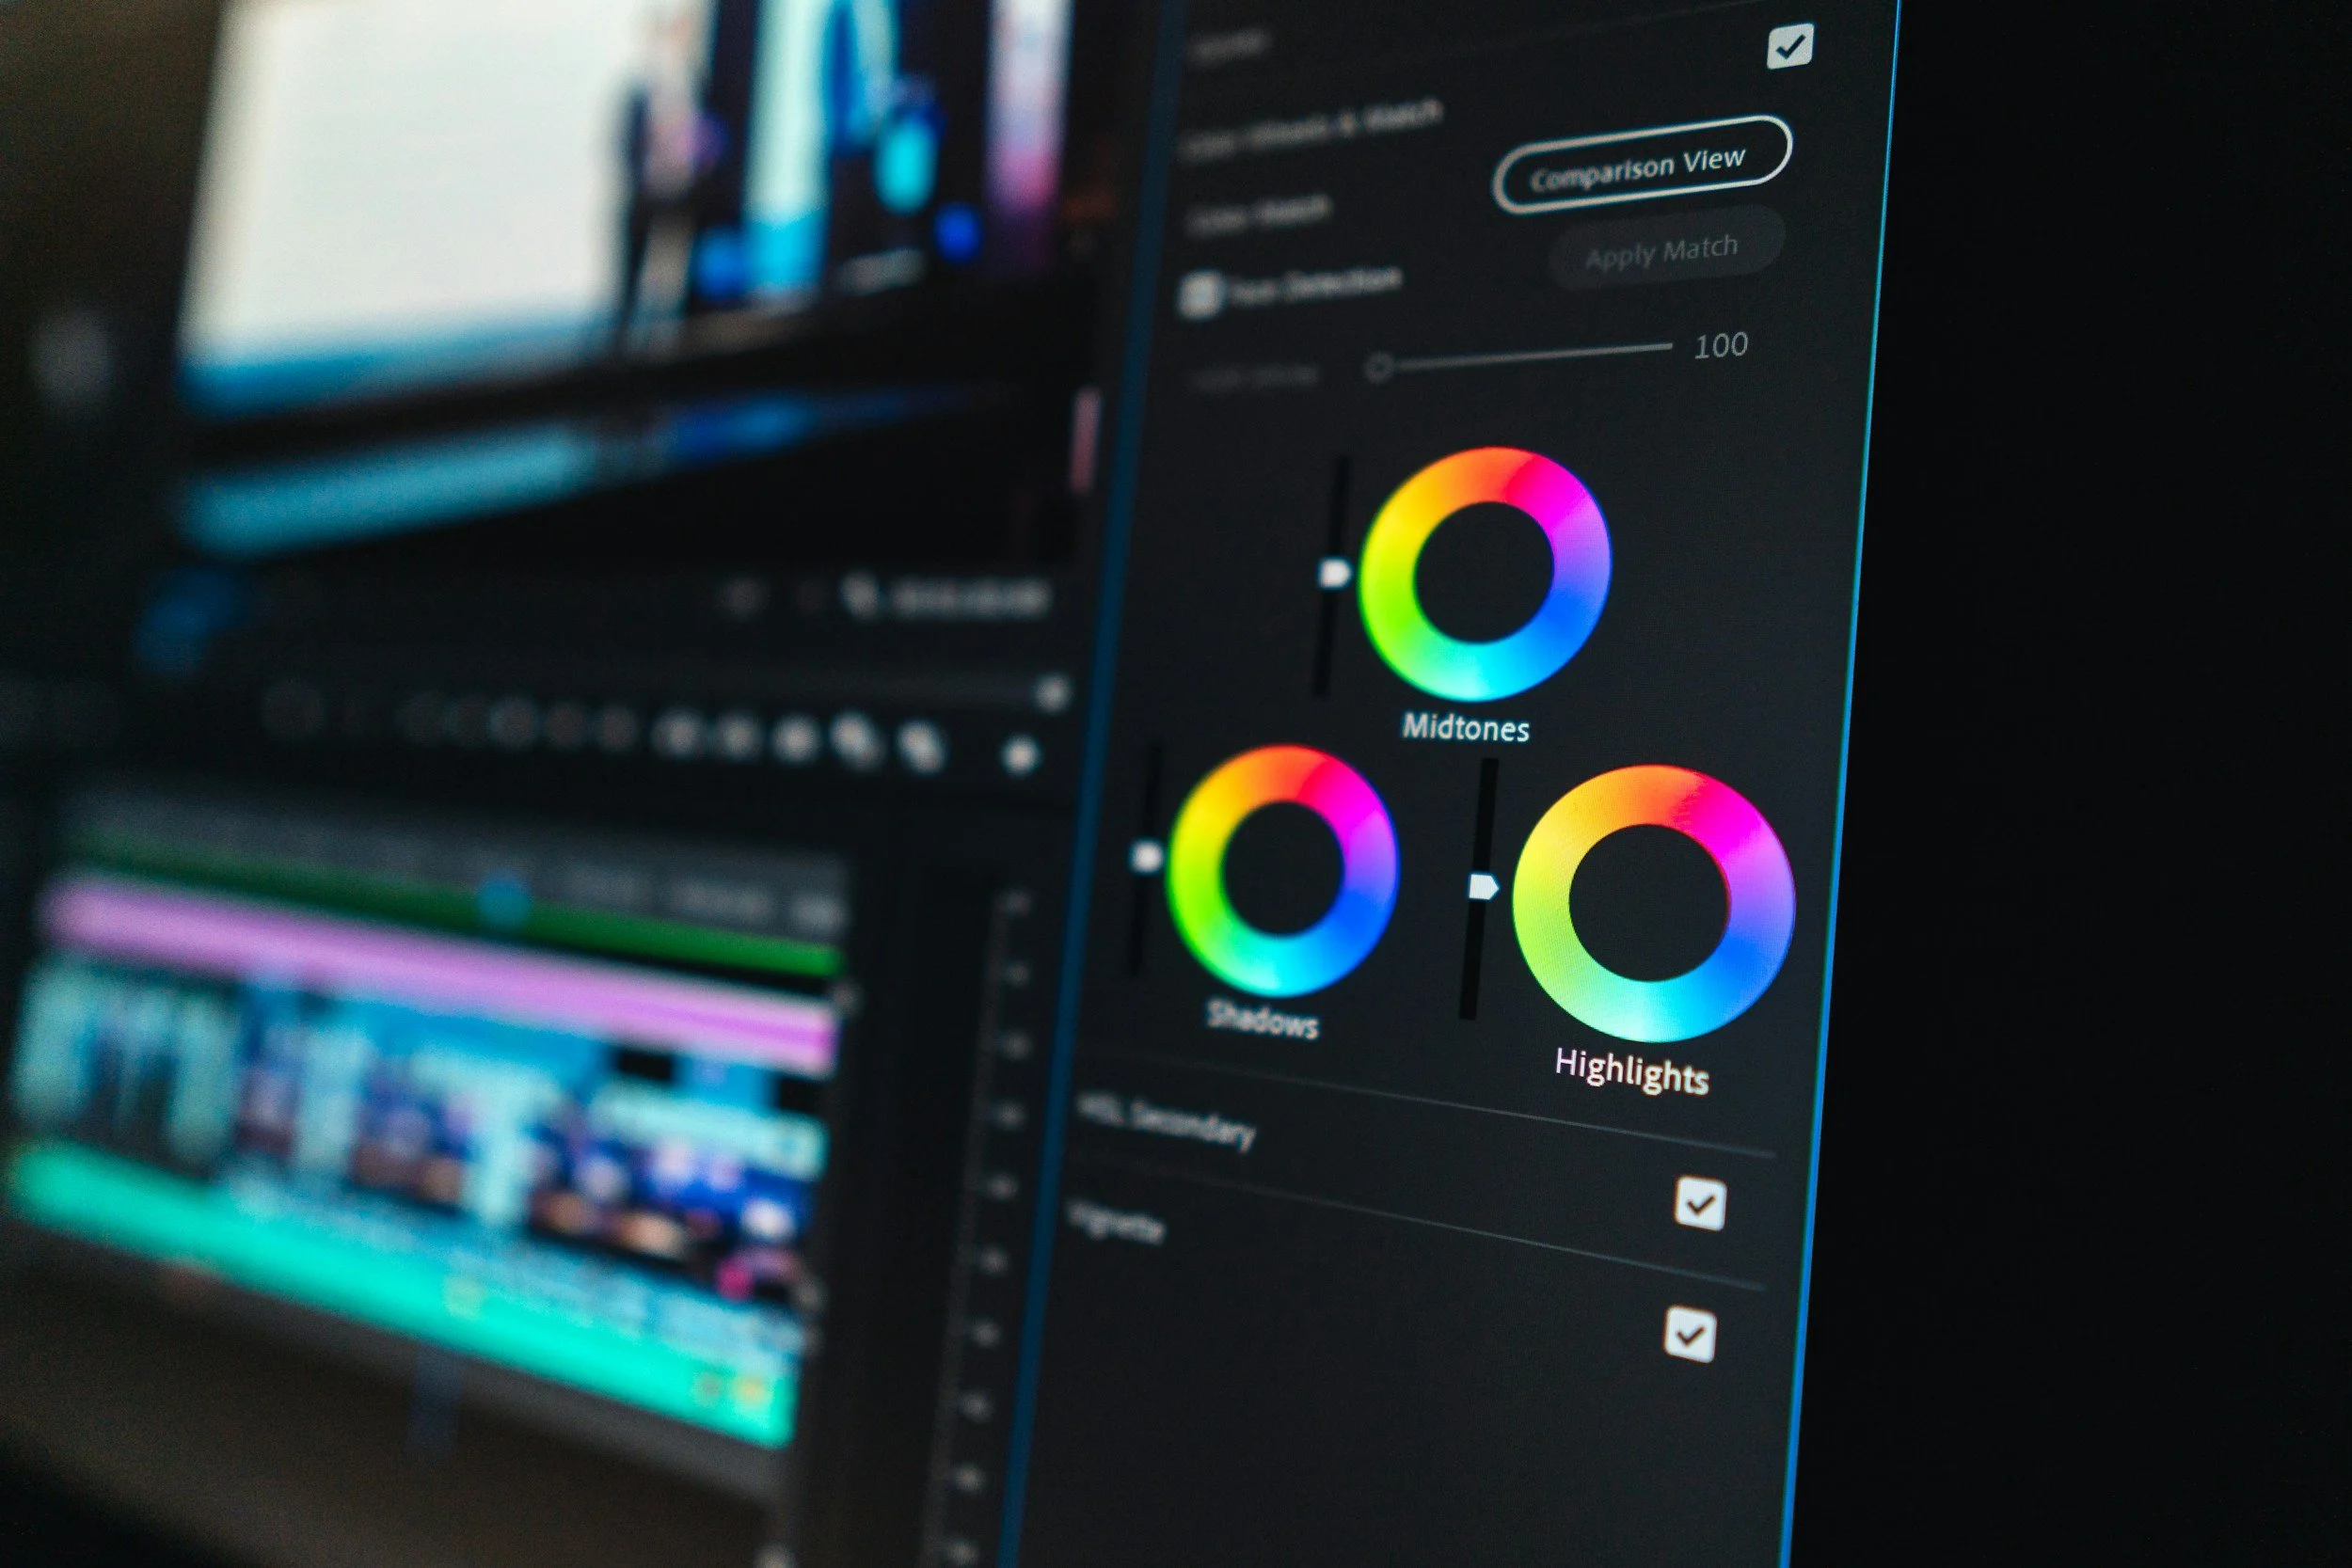
Apply Rec 709 LUTs
After you prepare your footage, you need to apply a LUT to create rec709. This step moves your video from the log color space to the Rec 709 color space. You can use color grading presets or technical LUTs for this conversion.
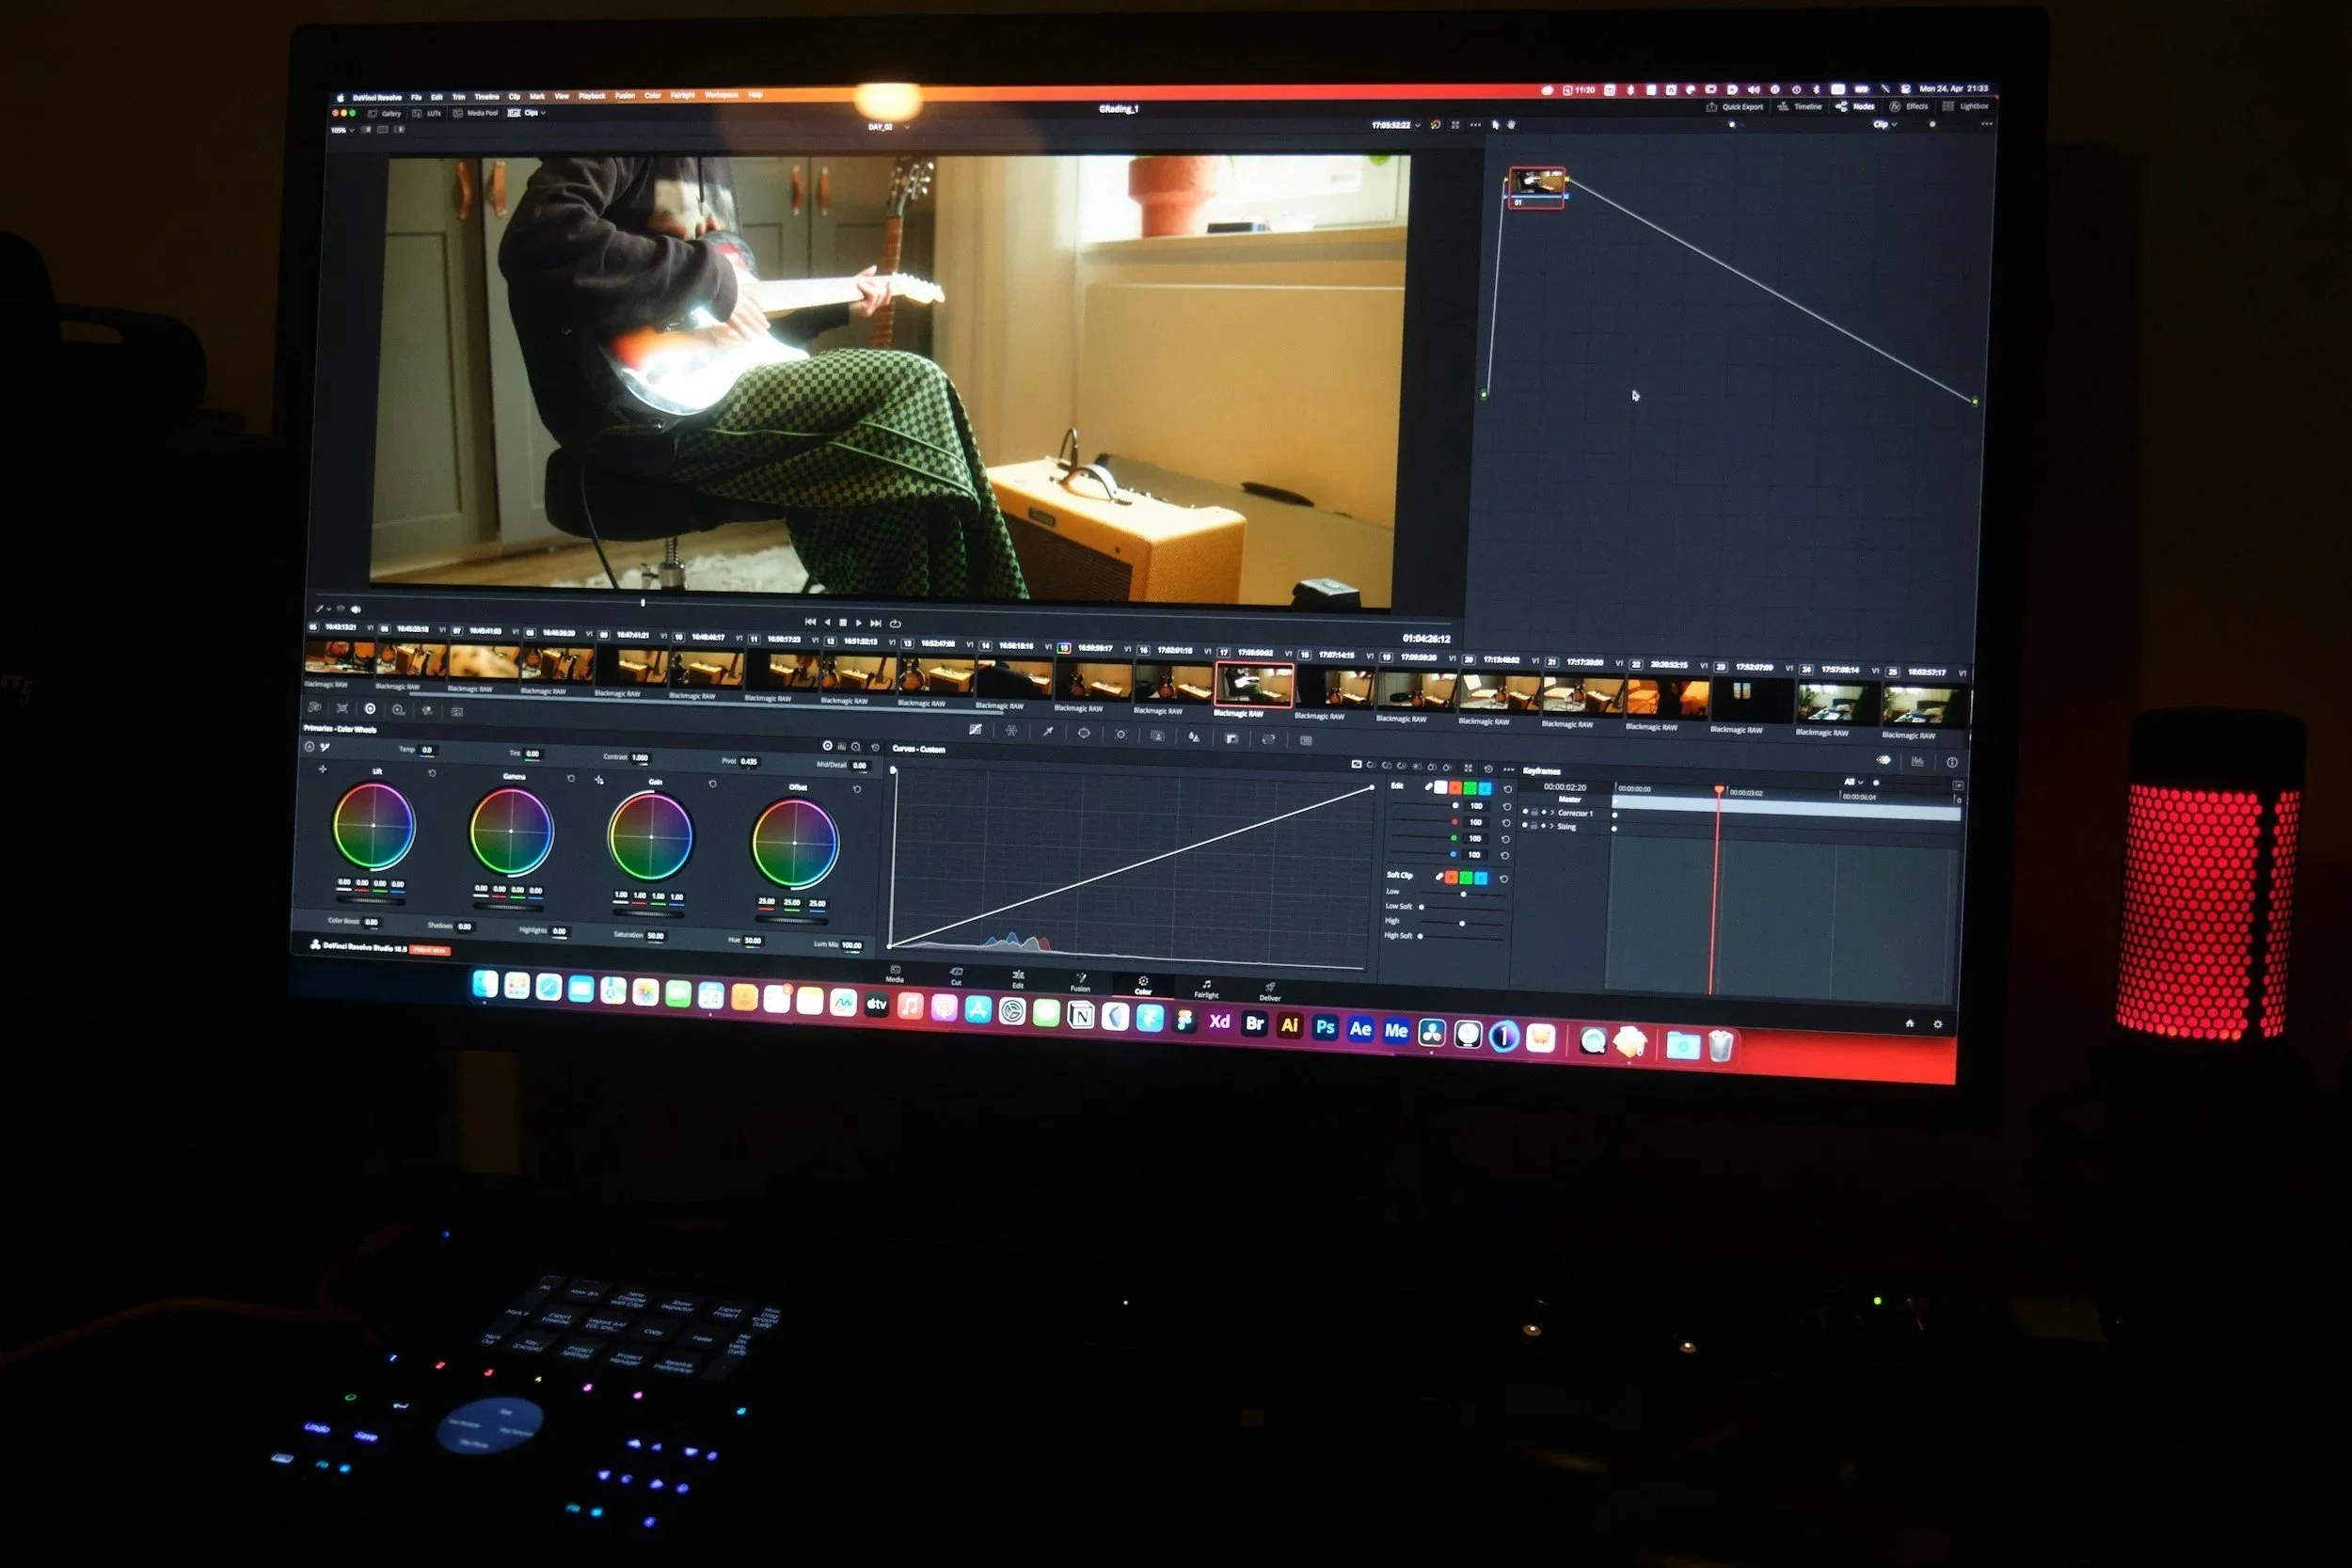
DaVinci Resolve:
Open DaVinci Resolve and your project.
Click the settings icon in the bottom right corner.
Go to Color Management and find 'Lookup Tables'. Click 'Open LUT Folder'.
Drag and drop your LUT folder into the LUT Folder.
Close the LUT Folder and click 'Update Lists' in the 'Color Management' tab.
Click 'Save'.
Apply the LUT:
Go to the 'Color' tab.
Right-click on a node, go to '3D LUT', and choose your Rec 709 LUT from the list.
Premiere Pro and Final Cut Pro:
In Premiere Pro, use the Lumetri Color panel to apply your Rec 709 LUT. You can select your LUT under the 'Input LUT' dropdown.
In Final Cut Pro, use the built-in LUT loader or third-party plugins. Newer versions of Final Cut Pro include a more accurate built-in LUT for Rec 709 conversion. Some downloadable LUTs may cause issues like strange skin tones or blown-out highlights, so test your LUT before finalizing your color grading process.
Note: Always check your LUT compatibility with your camera’s log color space to avoid unwanted color shifts during conversion.
Adjust and Refine Color Grading
Once you convert log footage to Rec 709, you need to refine your color grading process. Use color grading tools to make final adjustments and unify the look of your project. You can use creative LUTs to enhance the mood or style of your video. Apply stylistic changes on a dedicated node or adjustment layer for consistency across scenes.
Adjust exposure, contrast, and white balance to match your creative vision.
Use color grading techniques to blend color changes and improve aesthetics.
Make sure your color grading workflow keeps your footage looking natural and balanced.
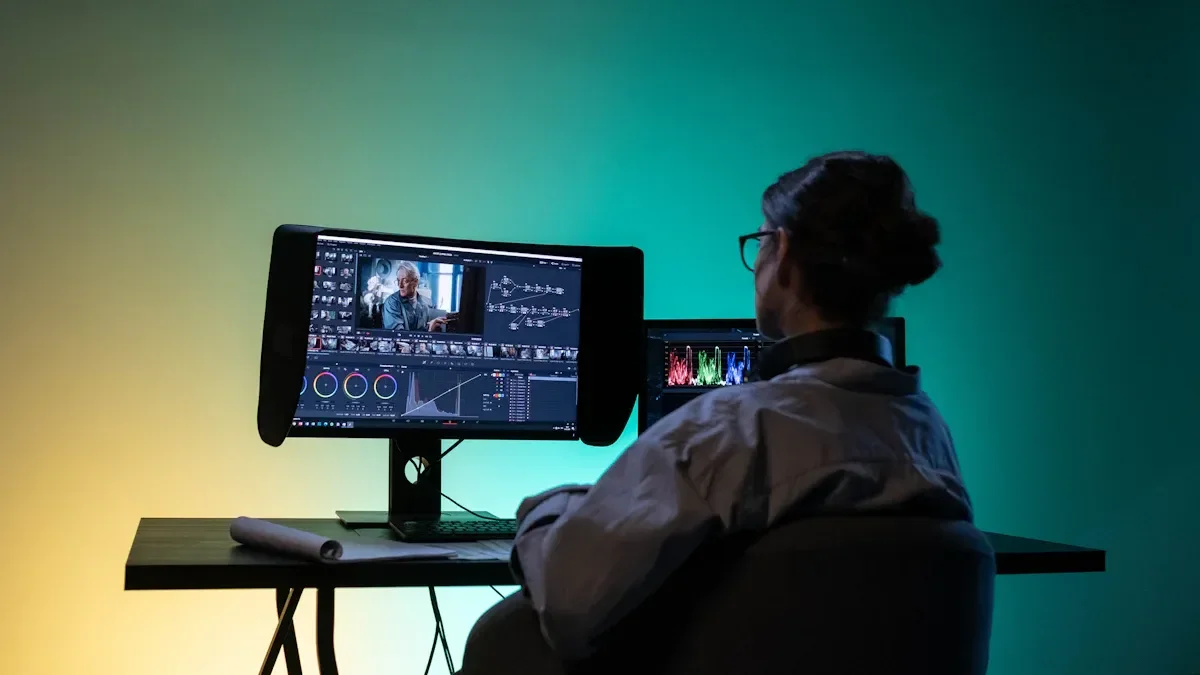
Tip: Always review your footage on a calibrated monitor to ensure your color grading process matches Rec 709 standards.
Export Final Video
Export your final video using your color correction software. Make sure your export settings retain the Rec 709 color space metadata. This step ensures your conversion stays accurate and your video looks correct on all screens.
When you export, do not assign full range values for YUV codecs. That is not Rec 709 compliant. Only use full range values if you record directly to RGB formats.
On properly calibrated monitors, limited range YUV encoded video and full range RGB video look the same when you follow Rec 709 standards.
Check your export settings for color space and gamma. Most editing software lets you choose Rec 709 as your output color space. This keeps your conversion consistent and professional.
Tip: Always double-check your exported file on different devices to confirm your color grading process worked as expected.
Tips and Troubleshooting
Choosing LUTs for Color Grading
You need to pick the right LUTs for your camera and project. Not all LUTs work with every camera. Each camera brand and model has its own log profile. You should check the LUT’s input range and match it to your footage. Use a middle grey and white card to set the correct exposure at your camera’s base ISO. Turn on the LUT and check where the grey and white fall. This helps you get the best results from log and luts.
Bit depth matters when you use LUTs. Cameras with higher bit depth, like 10-bit or 12-bit, give you more color information. This makes color grading smoother and helps you keep details in shadows and highlights. Always choose LUTs that match your camera’s log profile and bit depth for the best rec. 709 results.
Common Pitfalls
Many editors make mistakes when working with log and luts. Here are some common problems:
Wrong exposure can cause you to lose detail in highlights or shadows.
Incorrect white balance can shift your colors and make skin tones look odd.
Using the wrong LUT type can lead to compatibility issues.
Stacking too many LUTs can create artifacts and overprocessed images.
Skipping further adjustments after applying a LUT can stop you from reaching the look you want.
Not using a reference monitor can make your color grading look different on other screens.
Tip: Adjust LUT opacity in adobe premiere pro or fcp to fine-tune your look. Always check your work on a calibrated monitor.
Troubleshooting Issues
If you see color shifts after applying a rec. 709 LUT, check your gamma settings and color management. Different editing software can display colors in different ways. In adobe premiere pro, fcp, and DaVinci Resolve, always double-check your color settings. Use local correction tools to fix small problems and keep your image within the standard rec 709 range.
If you have compatibility issues, follow these steps for each platform:
In fcp, use the Effects Browser to apply and adjust your LUT.
In DaVinci Resolve, use the Color Page and LUT Browser.
In adobe premiere pro, use the Lumetri Color Panel.
In After Effects, use the Lumetri Color effect and utility profile converter if needed.
Note: Always review your final export on different devices to make sure your rec.709 color grading looks right everywhere.
You can change log footage to Rec 709 by following easy steps and picking the right LUTs for color grading. When you try out different LUTs, you can find new ways to make your videos look cool.
Custom LUTs let you try special color looks for fantasy or science fiction.
Personalized LUTs help you make your own style and get noticed.
Smart color choices with LUTs can make your video feel exciting.
Learning how to use Rec 709 is important in video work today. Rec 709 helps you get pro results in many ways.
FAQ
What is the difference between log and Rec 709?
You see log footage as flat and dull. Rec 709 footage looks vibrant and natural. Log vs rec 709 shows how log keeps more image data for editing, while Rec 709 is ready for viewing on most screens.
How do you use color space transform in DaVinci Resolve?
You open DaVinci Resolve and add the Color Space Transform effect. You select your camera’s log profile and set the output to Rec 709. This tool helps you convert log footage quickly and keeps colors accurate.
Why should you convert logarithmic footage to Rec 709?
You convert logarithmic footage to Rec 709 so your video looks normal on TVs and computers. Log footage holds more detail, but Rec 709 matches broadcast standards. This step helps you finish projects faster and keeps colors consistent.
Can you use color space transform for all colour space conversions?
You use color space transform for many colour space conversions. It works best for log footage from cameras like Sony or Canon. You pick the input and output color spaces to match your project needs.
What problems can happen when converting log footage in DaVinci Resolve?
You might see color shifts or strange skin tones. You fix these by checking your color space transform settings and using the right LUT. DaVinci Resolve gives you tools to adjust exposure and balance after you convert log footage.